

Regular User
This document is intended for regular users of the KeaFlow platform: browse / obtain images and models, and manage your own orders, invoices, and redemption vouchers. Screenshots were taken on 2026-10-21; if the interface changes, the actual pages prevail. For publishing and selling features, see Image Blogger.
What is KeaFlow
KeaFlow is a sharing community for "images + models".
What can you do with KeaFlow?
- Regular users: browse / obtain images and models, and manage orders, invoices, and redemption vouchers.
- Image bloggers (requires an administrator to enable): on top of regular-user capabilities, publish images and models, price images for sale, distribute vouchers, and view sales data.
Menus everyone sees after signing in: Overview, Assets (My Orders / My Invoices / Redemption Center), System Settings. Extra menus for image bloggers: Publishing (Image Community / Model Square / Model Relations) and Products & Sales (Sales Dashboard / SKU Management / Voucher Management / Order Info).
💡 Friendly reminder: if you cannot see the "Publishing" or "Products & Sales" menu groups, your account is not an image blogger yet — see the FAQ at the end.
Getting started
Open the website
The website is at https://app.keaflow.cc. The home page is also the download page of the KeaFlow desktop client (App) — to use images on your machine, download and install the client first.

Register / Sign in
- Click
Sign inat the top right of the website; you will be redirected to the unified sign-in page (Kea ID). - No account? Click
Registeron the sign-in page; useForgot passwordto recover it. - Enter your account and password; after signing in you are redirected back to KeaFlow.
Open the console
After signing in, click Console in the top bar to enter your workspace.
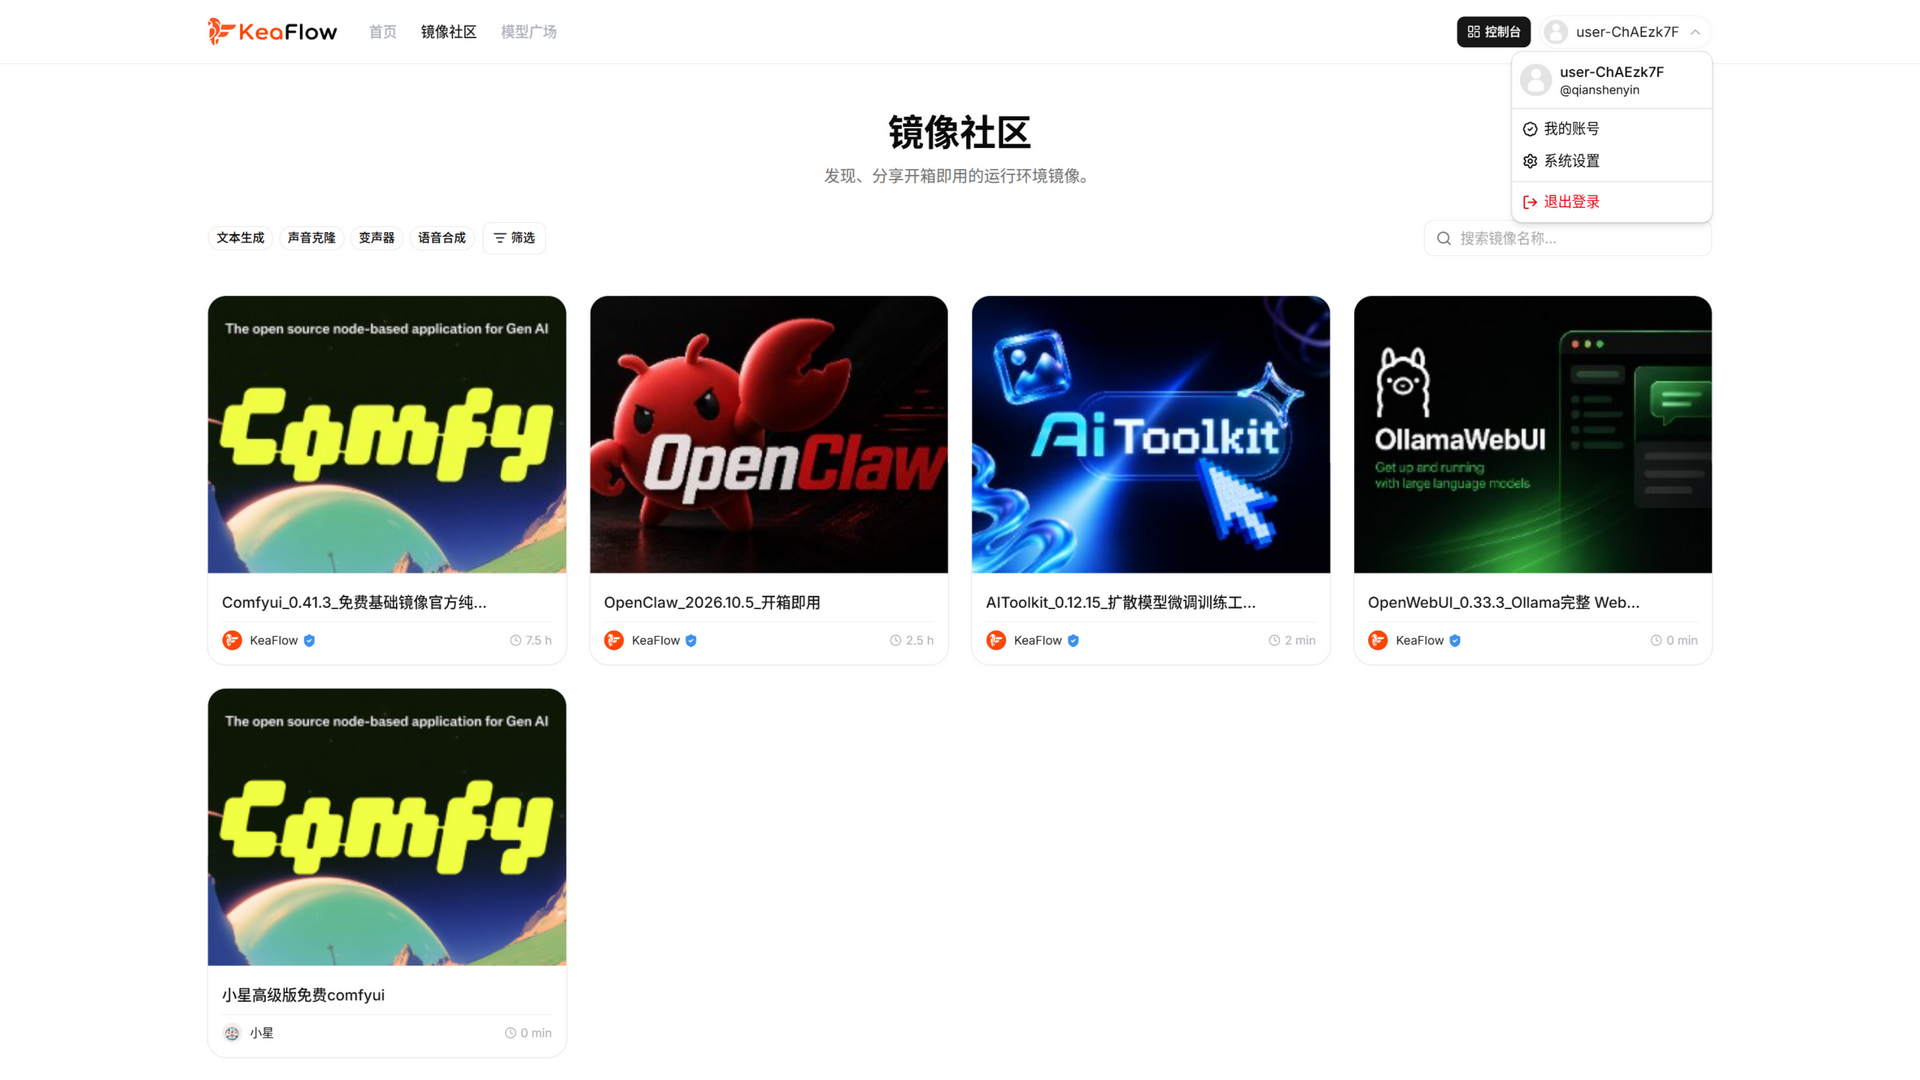
When signed in, clicking the avatar at the top right opens a quick menu: My Account, System Settings, Sign out.
Browse the website
The Image Community and Model Square entries in the top bar can be browsed without signing in; the entries stay the same after signing in.
Image Community
- Click
Image Communityin the top bar to open the list. - Filter by category: click the category buttons at the top (e.g. Text Generation / Voice Clone / Voice Changer / Speech Synthesis); click
Filterto combine more conditions. - Search by name: type the image name in the search box.
- Card info: cover, name, publisher avatar and nickname, usage duration; cards with the
Officialbadge are published by the platform; free images have no price.

Image detail page
Click any card in the list to open the detail page. Focus on these parts:
- Type badge next to the title: green NVIDIA / red MetaX / blue CPU — the chip environments the image supports; it must match your machine.
- Usage guide: the publisher's illustrated tutorial (how to start, which port, where to put models) — read this first.
- The
Versionpanel on the right: an image can have multiple versions; switch with the dropdown. - The
Recommended parameterspanel: suggested VRAM (GB) and CUDA version, to check whether your GPU can run it. - Price card: shown only for paid images (current price); free images don't have this section.
Click the Image Community breadcrumb to go back to the list.

Model Square
- Click
Model Squarein the top bar to open the list. - Filter with the category buttons (VAE / Flux / Checkpoint / Z-Image, etc.), or search by name.
- Cards show: cover, name, publisher, download count.

Model detail page
Click a card to see: base model (which large model this was trained on — it must match the one inside the image), model size, description, publisher and release time. Click the Model Square breadcrumb to go back.

Buying an image
⚠️ Important: web detail pages are for browsing only — purchase / payment / image download all happen in the KeaFlow desktop client. Download it from the website home page. Free images can be obtained without payment; paid images follow the flow below.
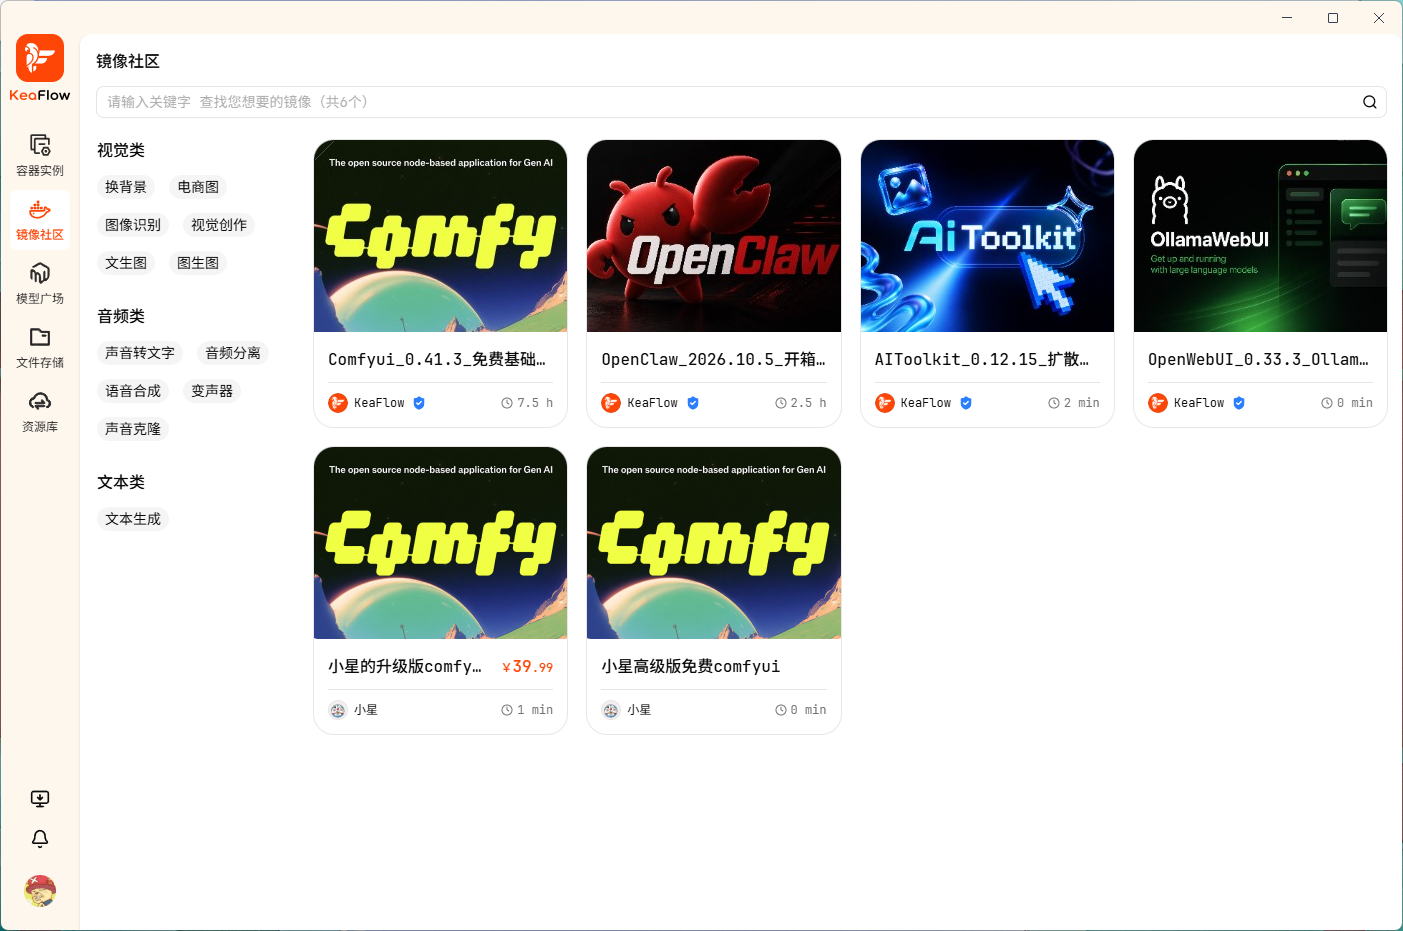
Checkout
- Open the image detail page in the client and click
Buy Now.
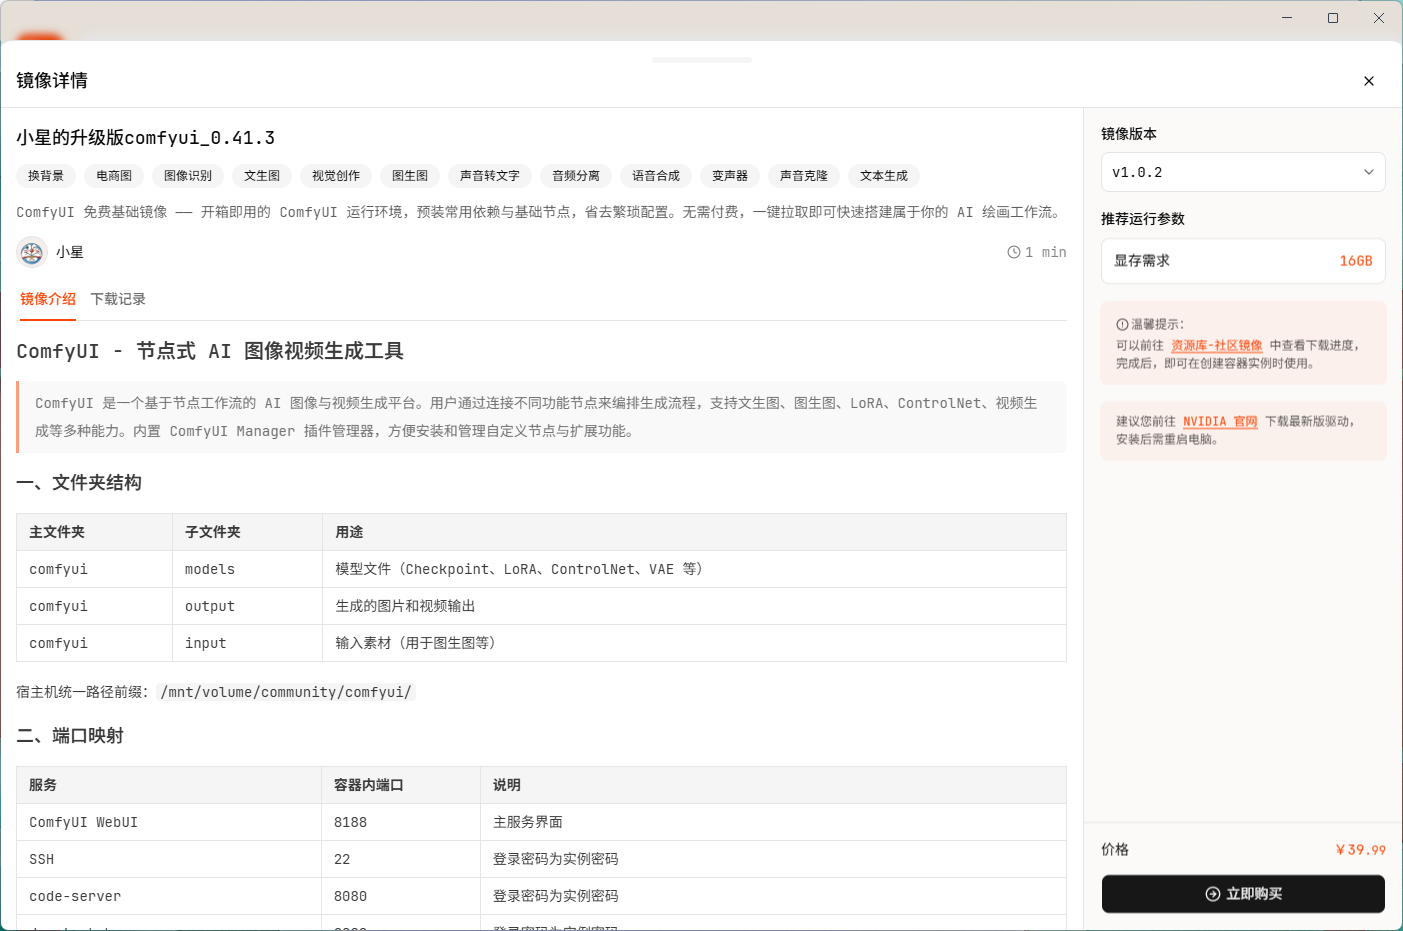
- The browser opens the checkout page automatically. Verify: image cover, name, version, summary, uploader, usage duration, and the product info (name / version / price).

Use a voucher or not?
The checkout page automatically matches the best-value voucher:
- No usable voucher / none applies to this image: shows "No available voucher", discount 0.
- Voucher available: the best one is selected automatically, showing the discount and the amount payable (payable = price − discount).
- Face value ≥ price: payable 0; click
Pay Nowand the purchase completes immediately. Note the excess is not refunded and the voucher is consumed as a whole. - Face value < price: choose a payment method (Alipay / WeChat, Alipay by default) to pay the remainder.
- Face value ≥ price: payable 0; click
- Click
Select voucherto expand the list and pick one yourself: usable ones are on top (the first is selected by default), unusable ones are grayed out with the reason, and those expiring within 7 days are marked "expiring soon"; search by voucher name / code is supported. ClickDo not use vouchersto give up vouchers.

Payment
- Click
Pay Nowto create a pending order; the page shows the amount, a QR code, and a 10-minute countdown. - Pay with Alipay / WeChat by scanning; the page polls the payment result and redirects to the success page automatically.
- Want to back out before scanning? Click
Back to checkout; the order stays "pending". ClickingPay Nowagain for the same image and version closes the old pending order and creates a new one. - Payment timeout: after 10 minutes the QR code expires and the order becomes "Closed".
Restart paymentcloses the old order and creates a new one with the same payment method.


Success and download
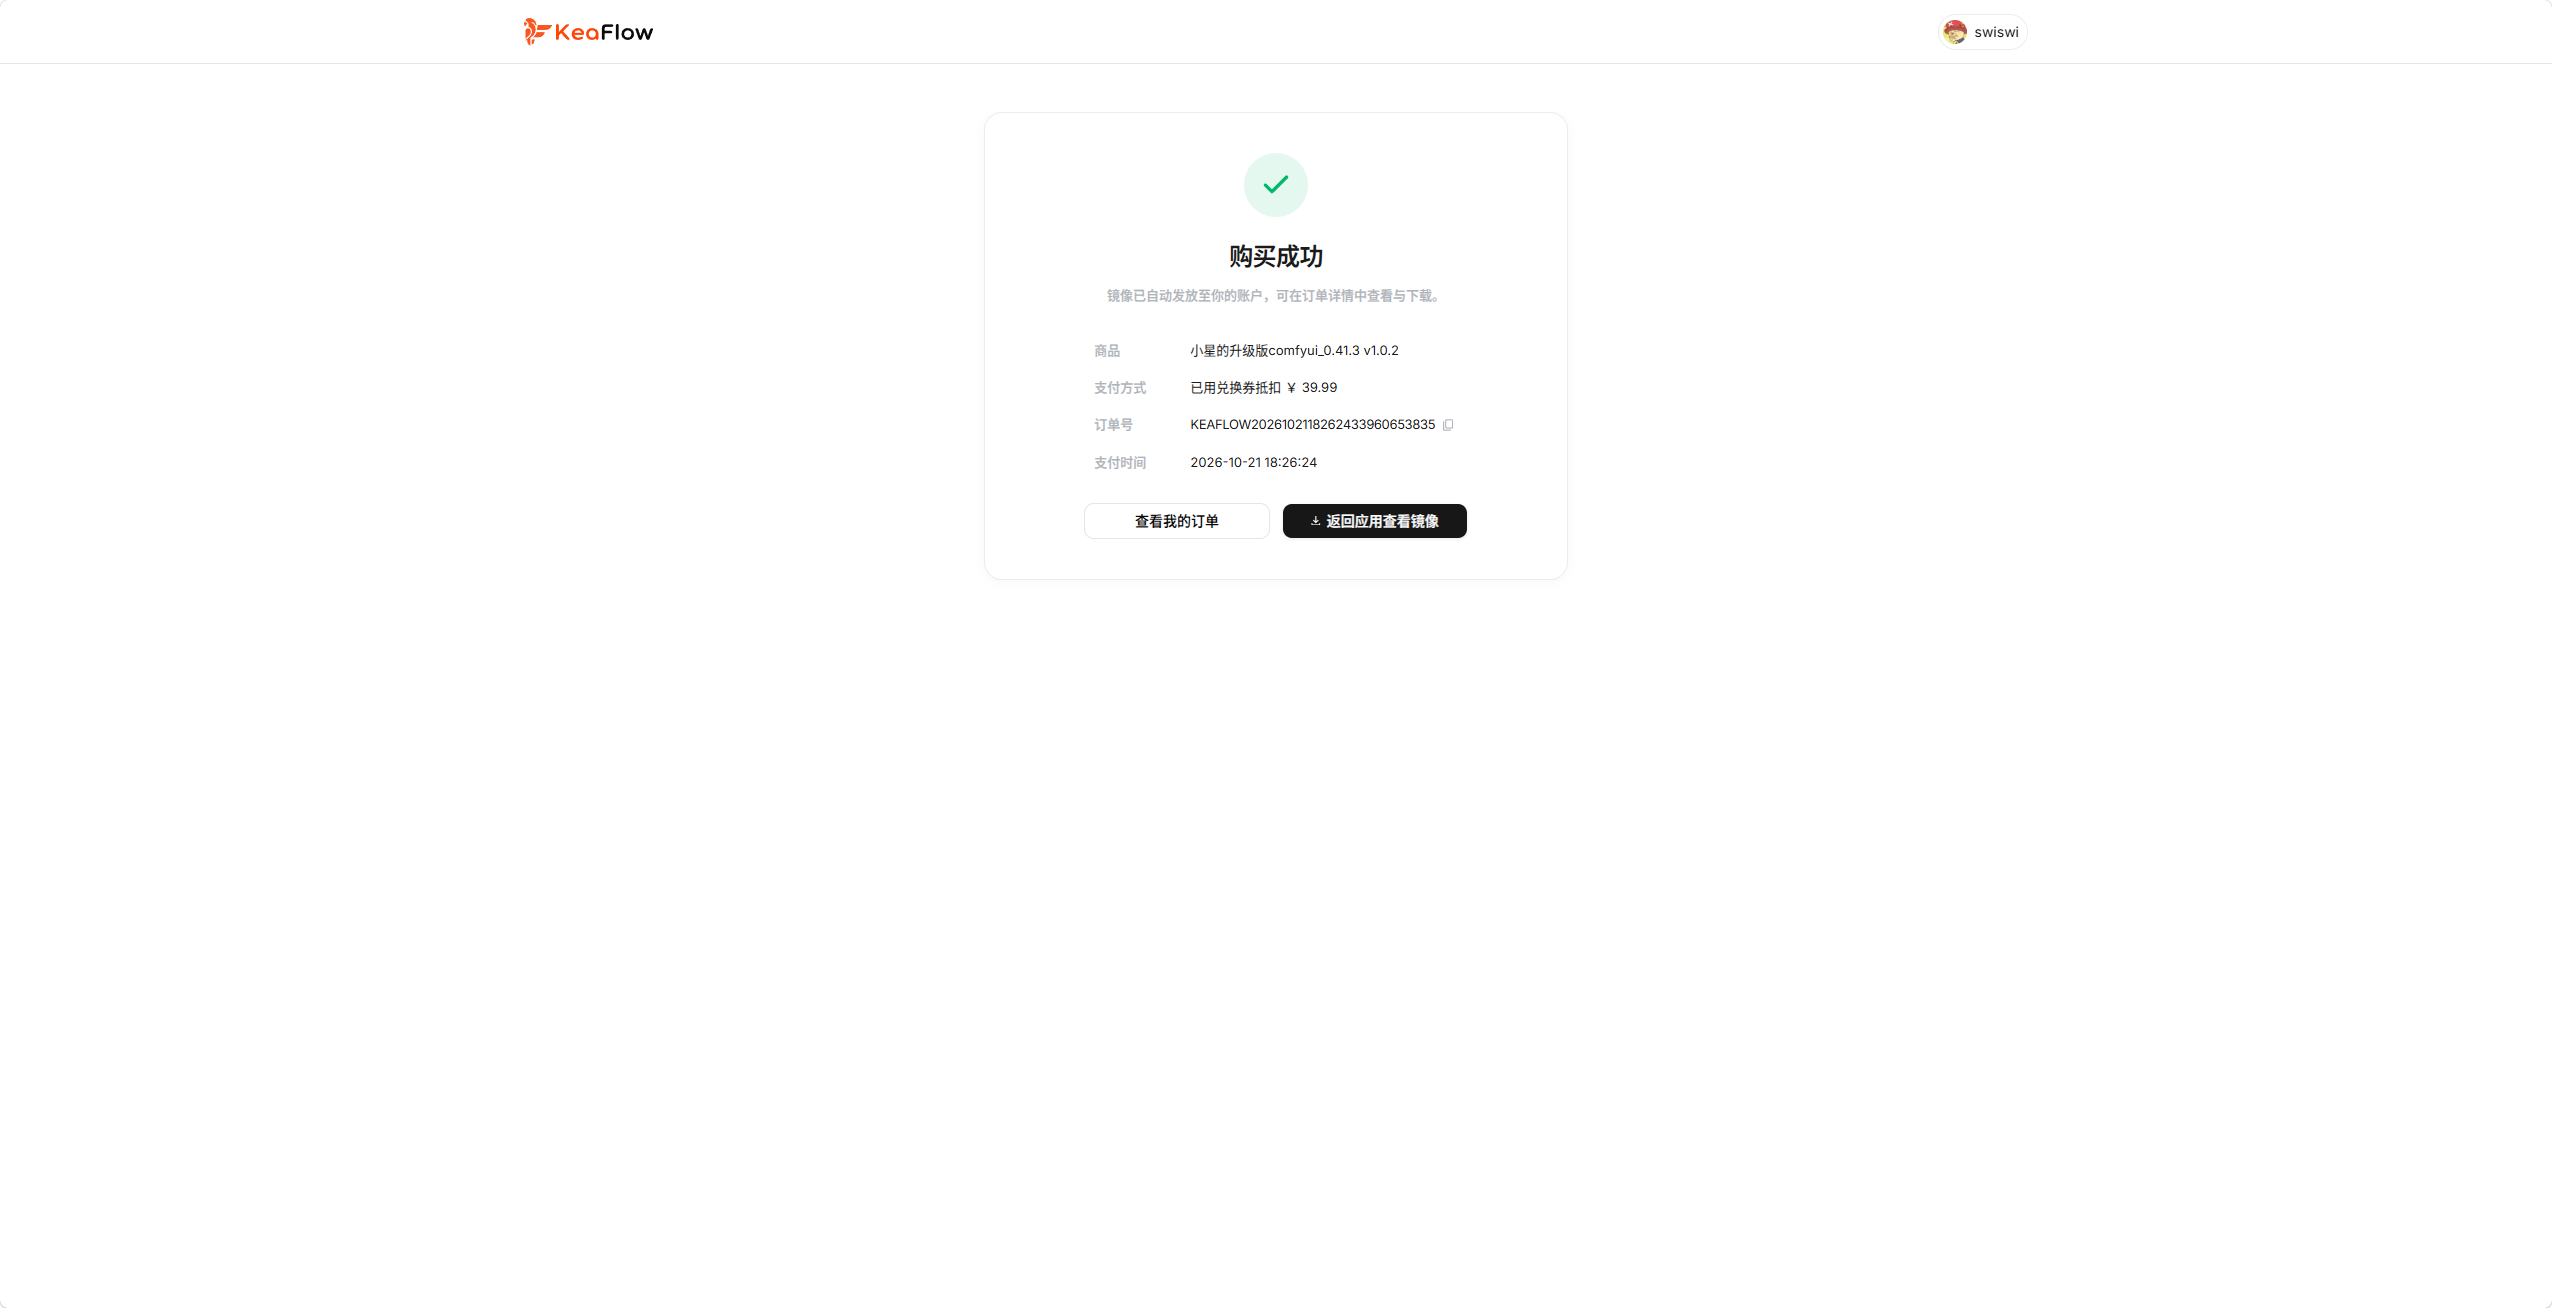
After payment you land on the success page: the product (image name + version), the payment method (e.g. "paid with voucher"), the order number, and the payment time. Two exits:
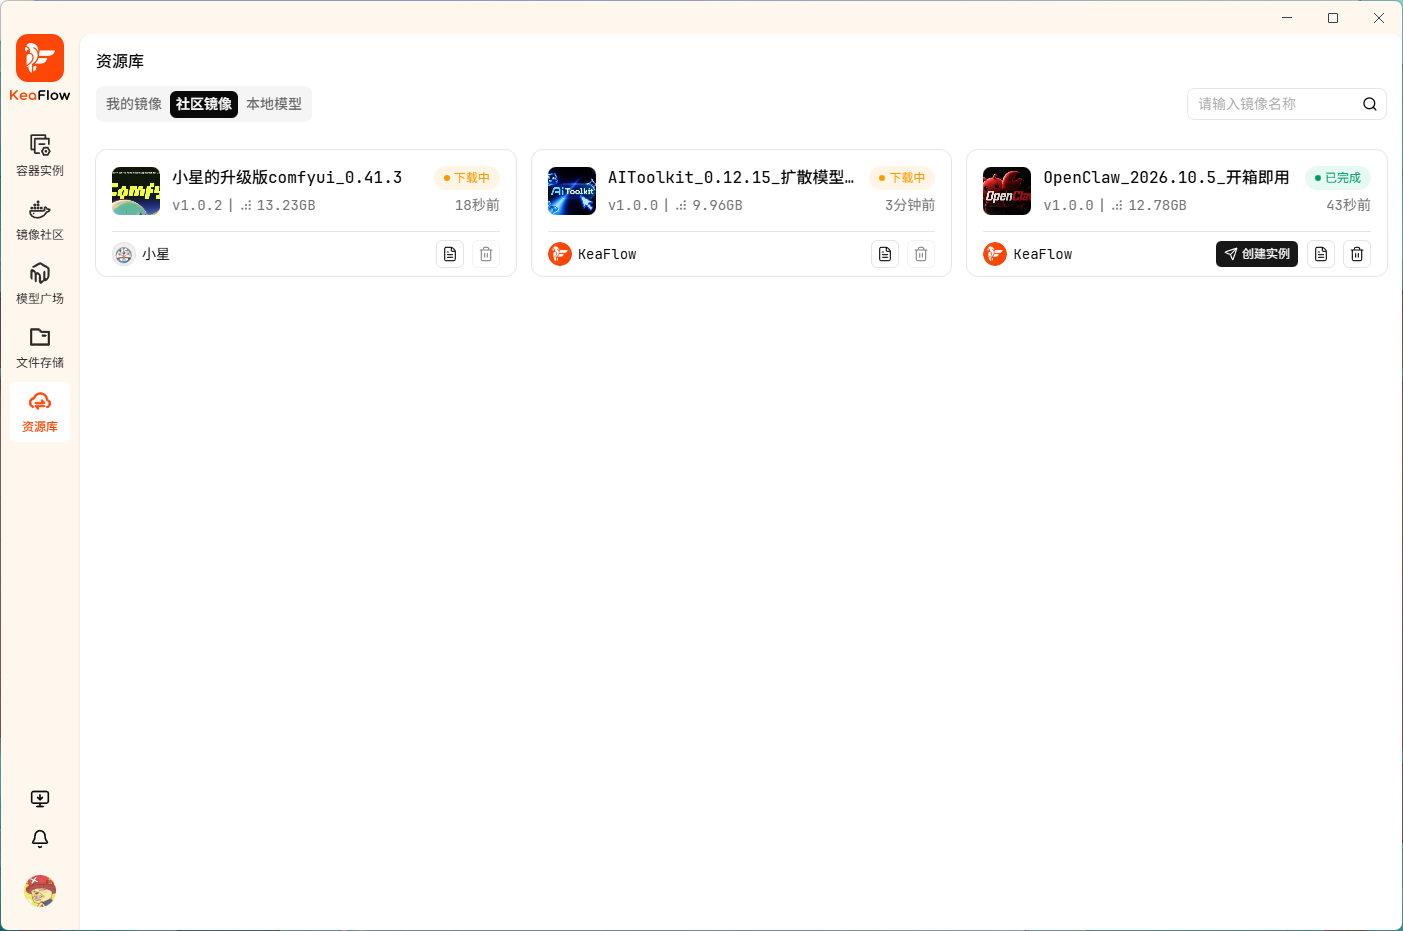
View my orders: jumps to "My Orders" in the console;Back to app to view the image: the image has been granted to your account automatically — find it underLibrary → Community imagesin the client to watch the download progress, then create an instance once it finishes.
Console overview
The first page after entering the console is the Overview: the menu on the left and the content on the right. The menu groups:
- Overview: the workspace home.
- Publishing: Image Community / Model Square / Model Relations (image bloggers only).
- Products & Sales: Sales Dashboard / SKU Management / Voucher Management / Order Info (image bloggers only).
- Assets: My Orders / My Invoices / Redemption Center (everyone).
- System Settings: account and general settings.
Overview page contents:
- Greeting card: avatar, nickname, sign-out entry.
- Statistic cards: visible to everyone: My vouchers (unused / redeemed), My orders (pending / total spend), My invoices (issuing / issuable total).
- Recent orders: your latest purchases; the
Apply for invoicebutton in the top right goes straight to invoicing (see "My Invoices").

Assets
My Orders
Path: Console → Assets → My Orders. All image orders you bought: order number, amount, payment method, status (Pending / Completed / Closed). Pending orders can be paid or cancelled; unpaid orders close automatically on timeout. Filter by status and view details.

My Invoices
Path: Console → Assets → My Invoices. Apply for invoices for orders that are completed with a real payment.

How to apply (the dialog after clicking Apply for invoice):
- Pick orders: check the orders to invoice under
Select orders; multiple orders can be merged into one invoice (the total actual payment updates in real time). - Fill in invoice info: choose Business or Individual; business requires a tax ID; fill in the title and the receiving email (the finished invoice is sent there).
- Click
Submit; the status becomes "Applying / Issuing"; the finished invoice is emailed, and can beDownload invoicefrom the list at any time.

Read before applying (the invoice notes in the dialog):
- Invoices are fully digitalized e-invoices, legally equivalent to paper ones;
- Minimum invoice amount is ¥30;
- The amount is based on actual payment — the voucher-offset part is not invoiced, so it may be lower than the listed price;
- If issuing fails you can
Resubmit; if you no longer need it,Cancel application.
Save frequently used titles: click Title Management → Add title, save a title and set it default; next time it is filled in automatically.

Redemption Center
Path: Console → Assets → Redemption Center. Vouchers distributed to you by others are listed here.
Three types:
Type What it offsets General voucher (general-credit voucher) Any image platform-wide that allows voucher payment, by face value Image voucher Only the specified image (all its versions) SKU voucher Only the specified version of the specified image Click
Copy codeto keep the code (the system matches vouchers automatically at checkout; copying is for your own records / gifting checks).Status: Unused / Redeemed / Expired. Mind the
Valid untildate.This page is view only — the actual offset happens automatically at checkout (see "Buying an image").

System Settings
Path: Console → System Settings (or the avatar menu → System Settings).
- Account: change avatar and nickname; change email, phone number, and sign-in password (identity verification required; follow the on-page steps).
- General: appearance (Light / Dark / Follow system), interface language (简体中文 / 繁體中文 / English).

FAQ
Can't see a menu? "Publishing" and "Products & Sales" require the Image Blogger role; contact an administrator. Regular accounts always have Overview, Assets, and System Settings. Accessing the URL directly shows an "Access denied" page.
Voucher not applied? Make sure the voucher is Unused and within its validity period, and that its type matches the image / version (general vouchers: whether voucher payment is allowed; image vouchers: whether limited to that image; SKU vouchers: whether the version matches).
Why is the invoice amount less than what I paid? Invoices are based on actual payment; the voucher-offset part is not invoiced. For merged invoicing, the amount is the sum of actual payments.
Can others see my data? Orders, invoices, vouchers, and your published images / sales data are visible only to you.
Where do I download the client? The website home page (https://app.keaflow.cc) is the client download page.